How to create a custom Property Attribute
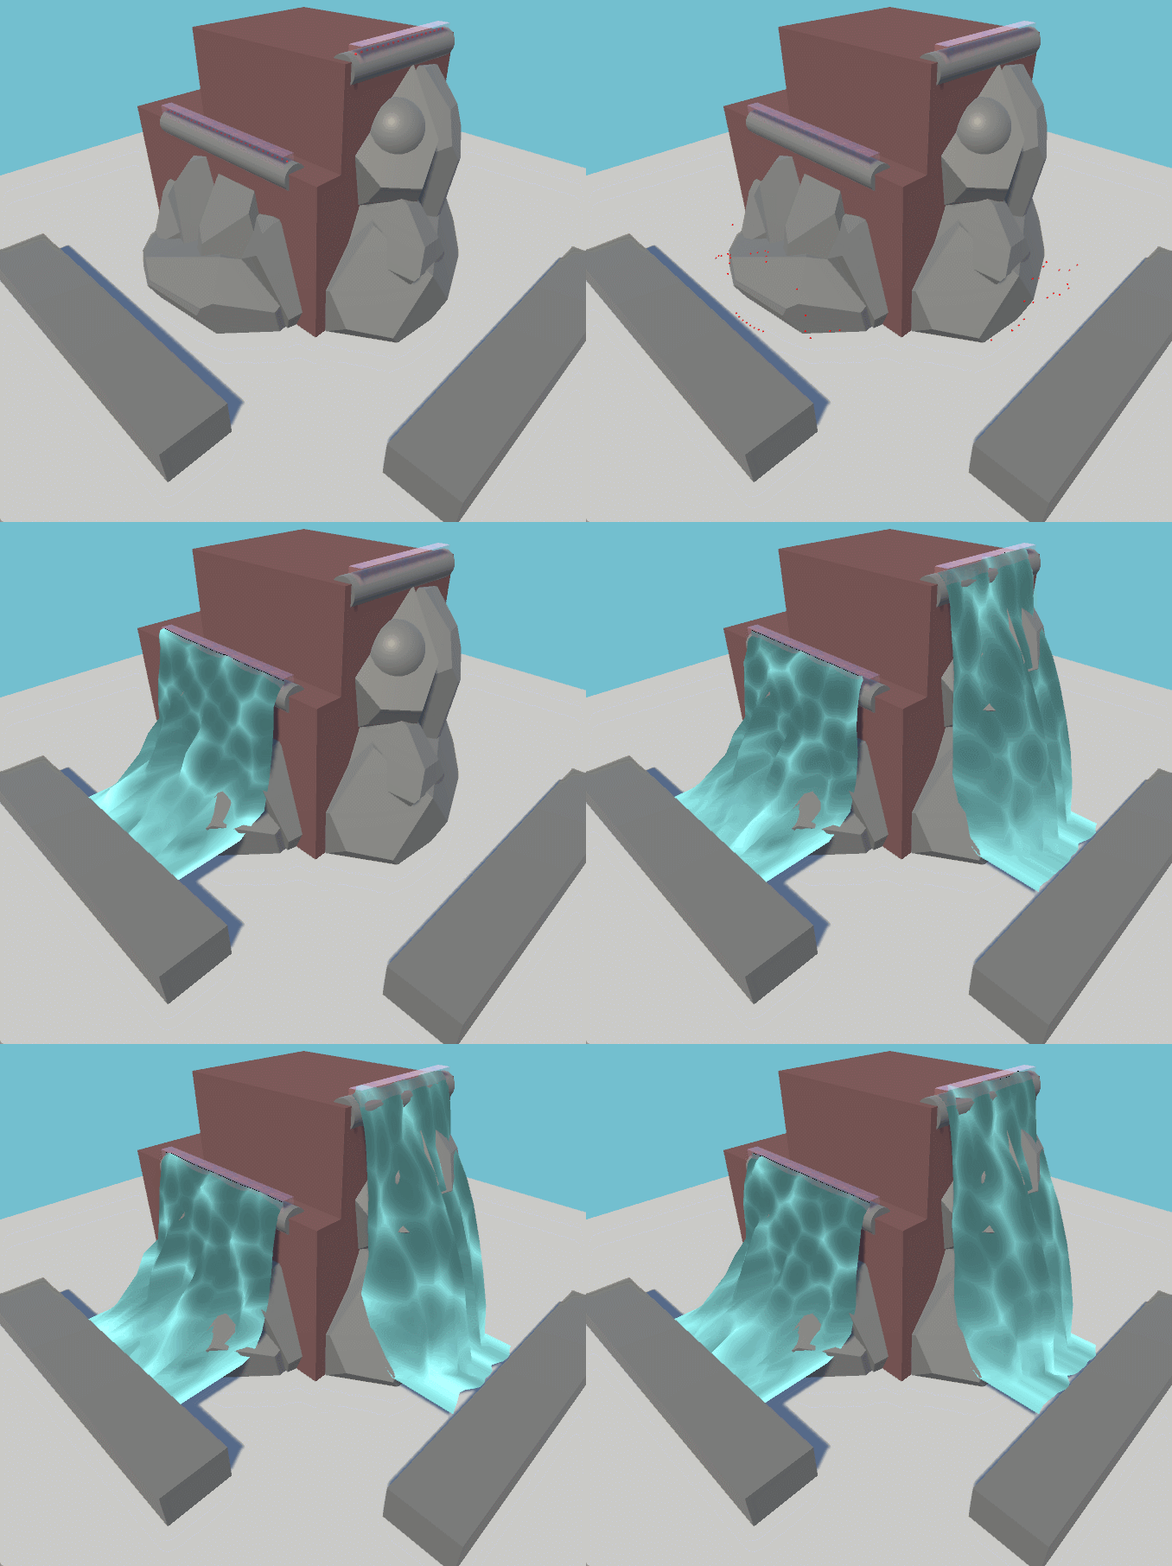
This is one of the things you think you won’t do because you’ll never need it, but creating a small tool to generate meshes to make waterfalls, made me need to display only the X value of a Vector3 in the Inspector, and the only way to do it was to create a custom Property Attribute.
The complexity of creating them depends on what you want to display in the inspector and what function you want it to do.
First of all, you must have in Assets a folder called Editor, and this is very important, because if you do not put the code in this folder, it will not work.
Once you have created the Editor folder, generate a new code file. Try to call it in the best possible way so that you know what the file does without having to open it. In my case, I’ll call it VectorXOnlyDrawer.
And then, outside the Editor folder, you can create in the folder you prefer, XOnlyAttribute class file.
And what is written above above is important, the PropertyDrawer, which uses UnityEditor, must be placed in the Editor folder, or it will not work. And the XOnlyAttribute class, will be created outside this folder, because if it is not done this way, the other classes will not see this custom Attribute.
In my case, I have a folder called Scripts, and inside it, a folder called CustomAttributes, there I create the following code for XOnlyAttribute:
XOnlyAttribute.cs
using UnityEngine;

[System.AttributeUsage(System.AttributeTargets.Field)]
public class XOnlyAttribute : PropertyAttribute
{
  // Here the code that you maybe want.
}
In this particular case, this class is very simple and it is only for the Drawer to be shown in the inspector when you set [XOnly] as a property of a Vector3.
The name of the class is important, if you want [XOnly] to be what you have to set you have to call the class XOnlyAttribute. If you put HelloFriendAttribute, you would have to call the [HelloFriend] property in your classes. NameWhatYouWant + Attribute.
Another thing, there is another method for you to use the attribute in the class you want. You simply have to insert the class header and you will be able to use it.
public class XOnlyAttribute : PropertyAttribute { }
This method may be advisable depending on what you want that particular property for. If you are only going to use it for a specific class, it is not a bad option, but it is always good that you can reuse the code and you don’t have to copy and paste the same thing in other classes. Besides, of course, the custom property class can have a lot of content depending on your needs, so, you decide.
Vector3XOnlyDrawer.cs
Before going to the code, a brief explanation of the steps I have taken to create it:
- It indicates what type of PropertyDrawer it is, in this case, Vector3.
- When inheriting from the PropertyDrawer class, an override of the OnGUI method is made to show the elements on the screen.
- The label is shown and the size and position of the rectangle where the data will be shown is calculated.
- The SerializedProperty of the vector (x, y, z) is taken.
- Taking the XOnlyAttribute class, we make the X to be shown only if [XOnly] is present.
- And if it is not present, the three fields are shown.
When making an override of Vector3 to display it, we have to take into account that we have to make the code so that it is displayed both when the XOnly attribute is present and when it is not. If you don’t do it, nothing will be shown by the inspector, and it will give an error.
using UnityEditor;
using UnityEngine;

[CustomPropertyDrawer(typeof(Vector3))]
public class Vector3XOnlyDrawer : PropertyDrawer
{
  public override void OnGUI(Rect position, SerializedProperty property, GUIContent label)
  {
    EditorGUI.BeginProperty(position, label, property);

    position = EditorGUI.PrefixLabel(position, GUIUtility.GetControlID(FocusType.Passive), label);

    // Calculate rect positions
    float labelWidth = 15f;
    float singleFieldWidth = (position.width / 3f) - labelWidth;
    Rect xRect = new Rect(position.x + labelWidth, position.y, singleFieldWidth, position.height);
    Rect yRect = new Rect(position.x + singleFieldWidth + (labelWidth * 2), position.y, singleFieldWidth, position.height);
    Rect zRect = new Rect(position.x + (2f * singleFieldWidth) + (labelWidth * 3), position.y, singleFieldWidth, position.height);

    SerializedProperty xProperty = property.FindPropertyRelative("x");
    SerializedProperty yProperty = property.FindPropertyRelative("y");
    SerializedProperty zProperty = property.FindPropertyRelative("z");

    // Draw only the X field if the XOnly attribute is present
    XOnlyAttribute xOnlyAttribute = null;
    if (fieldInfo != null)
    {
      var attributes = fieldInfo.GetCustomAttributes(typeof(XOnlyAttribute), true);
      if (attributes.Length > 0)
      {
        xOnlyAttribute = attributes[0] as XOnlyAttribute;
      }
    }

    if (xOnlyAttribute != null)
    {
      EditorGUI.PropertyField(xRect, xProperty, GUIContent.none);
    }
    else
    {
      EditorGUI.indentLevel = 0;
      EditorGUI.LabelField(new Rect(xRect.x - labelWidth,xRect.y,labelWidth,position.height),"X");
      EditorGUI.PropertyField(xRect, xProperty, GUIContent.none);
      EditorGUI.LabelField(new Rect(yRect.x - labelWidth, yRect.y, labelWidth, position.height), "Y");
      EditorGUI.PropertyField(yRect, yProperty, GUIContent.none);
      EditorGUI.LabelField(new Rect(zRect.x - labelWidth, zRect.y, labelWidth, position.height), "Z");
      EditorGUI.PropertyField(zRect, zProperty, GUIContent.none);
    }
    EditorGUI.EndProperty();
  }
}
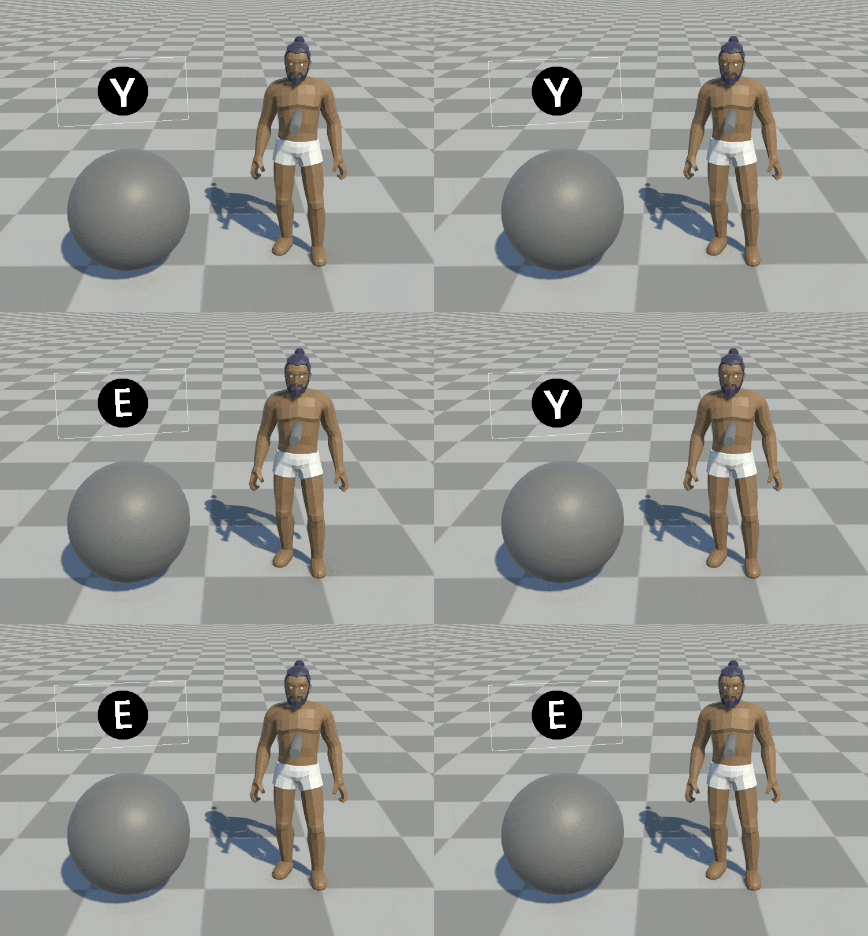
And so much for this simple custom property that we have created to show only the X in a Vector3. In another occasion perhaps we will make another more complex one, modifying also the class created for the Attribute. Final result:
[XOnly] public Vector3 boxSize = new Vector3(1.5f, 0.2f, 0.2f);


![Coding a Weather System [PART 1]](https://badwaz.es/wp-content/uploads/2023/09/rain_prob.png)